
Resources Module
Module Overview
The Resources module lets you allocate and track things other than people on a Task: conference rooms, copiers, vehicles, equipment and so on.
 The Resources module is installed but turned off by default. To use it, go to System Admin → View Modules, activate Resources and set it to “visible” so it appears in the navigation. v5.0 fixes adding and editing resources: on earlier versions saving failed with “Unknown column ‘resource_description’” on new installs. If you upgraded, run Apply System Updates first.
Resources List (Resources Index)

The Resources list has an “All Resources” tab and one tab per resource type. The types are the ResourceTypes lookup values in System Admin → System Lookup Values, so you can add, rename or remove them there. A new install starts with “All resources”, “Equipment”, “Tool” and “Venue”; an upgraded system keeps the types it had.
By default the list has these columns:
- Identifier: your own code for the resource. Click it to open the resource.
- Resource Name
- Max Alloc %: the most the resource can be booked at once
- Type
- Notes
To create a new resource, select the “New Resource” button at the top of the page.
Resource View

The resource view shows the resource’s Identifier, Name, Type, Percent Allocation (its maximum allocation) and Description. The links at the top go back to the list or to editing the resource.
Add or Edit a Resource

The form has these fields:
- Resource Identifier: a short code of your choosing
- Resource Name
- Type: one of the ResourceTypes values
- Max Allocation: in percent, 100 by default
- Notes
Assigning Resources to Tasks
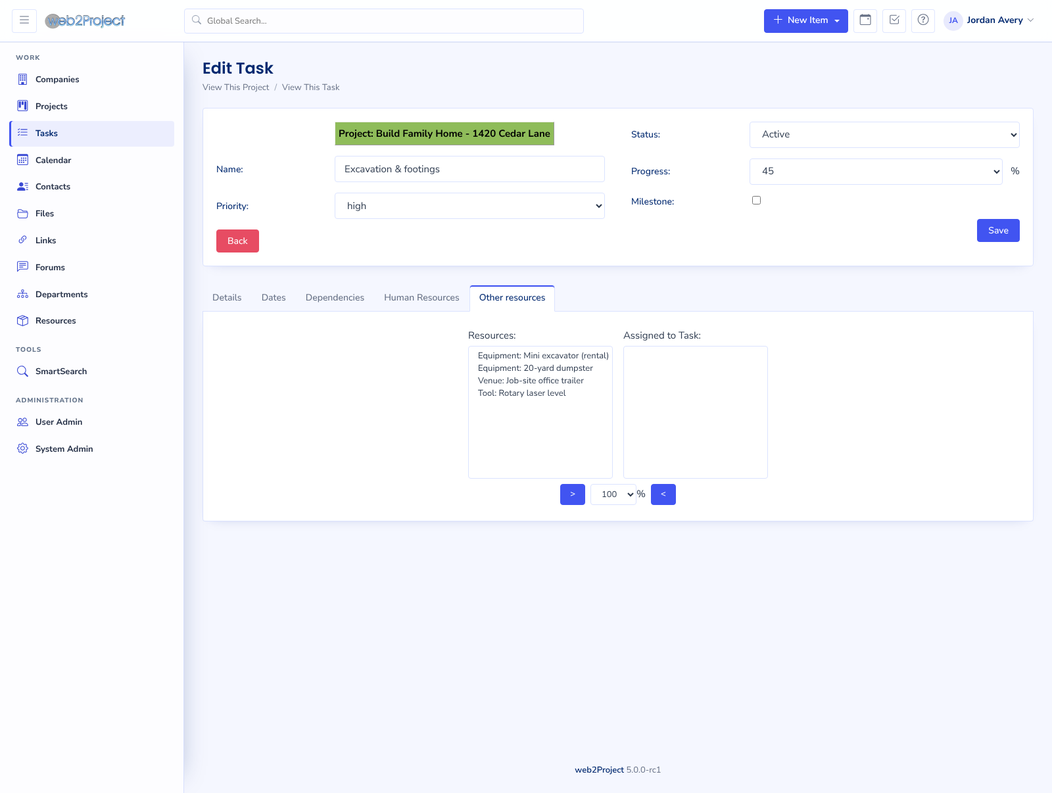
When the module is active, the task form has an Other resources tab. Select a resource from Resources, choose a percentage, and add it to Assigned to Task with the “>” button; “<” removes it. The assignments are saved with the task. (Before v5.0 they were not saved at all.)
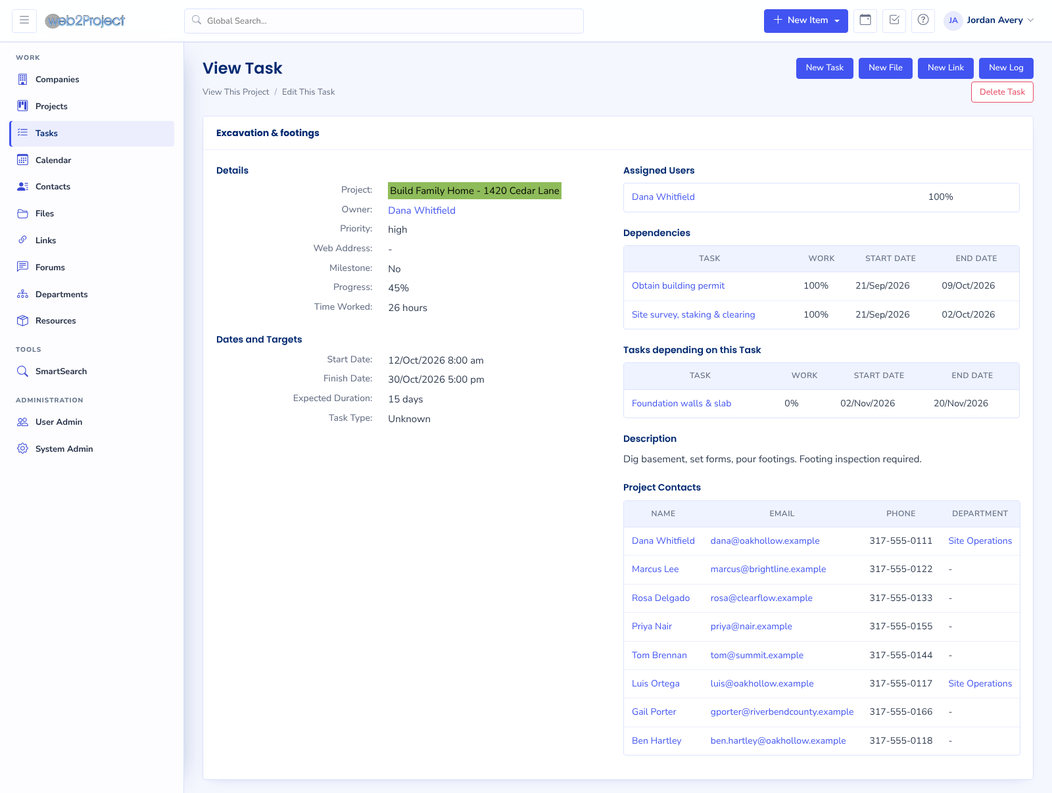
The task view has a matching Other resources tab listing each assigned resource’s type, name and allocation. A resource booked for more than its maximum allocation is marked OVERALLOCATED.
Deleting a task removes its resource assignments.